Sunday, February 16, 2020

how to install dspace on ubuntu 18.04


How to install dspace on ubuntu
(important: before the installation of dspace we must install git software by using below command)
$ apt-get install git

  1. Log in:
    • $ ssh -i keypair2.pem ubuntu@3.80.31.85
  2. Update Ubuntu patches to latest packages:
    • $sudo apt update
    • $sudo apt upgrade (note: when upgrading, choose “install the package maintainer’s version” typically works well)
  3. Install required system applications: (openjdk-8, postgresql, ant, and maven)
    • $sudo apt install openjdk-8-jdk postgresql ant maven
  4. Create Ubuntu user “dspace” with directory “/dspace” and let user “dspace” owning directory “/dspace”
    • $sudo useradd -m dspace
    • $sudo passwd dspace
    • $sudo mkdir /dspace
    • $sudo chown dspace /dspace
  5. Become user “postgres” so that it can create postgreSQL database user
    • $sudo su postgres
  6. Create a new PostgreSQL user
    • $createuser -U postgres -d -A -P dspace
    • Enter password for new role: 
    • Enter it again:
    • $exit
  7. Ubuntu user “dspace” to create database “dspace”
    • $sudo -u dspace createdb -U dspace -E UNICODE dspace
  8. Be ubuntu user “postgres” and enable postgreSQL extension “pgcrypto” for hash function. (a regular Postgres extension. Install it once per database)
    • $sudo su postgres
    • $psql –username=postgres dspace -c “CREATE EXTENSION pgcrypto;”
  9. Exit to be user “ubuntu” again.
    • $exit
  10. Allow database user “dspace” to connect to PostgreSQL
    • $sudo nano /etc/postgresql/10/main/pg_hba.conf
    • go to the last line, add “local   all dspace                       md5“
    • save and close the file
  11. Restart postgreSQL (to make the change effecitve)
    • $sudo /etc/init.d/postgresql restart
  12. Create “/build” directory for compiling and installation
    • $sudo mkdir /build; sudo chmod -R 777 /build; cd /build
  13. Download Dspace to “/build” directory and extract DSpace tar file
    • $wget https://github.com/DSpace/DSpace/releases/download/dspace-6.3/dspace-6.3-src-release.tar.gz
    • $ tar -zxf dspace-6.3-src-release.tar.gz
    • $ cd /build/dspace-6.3-src-release
  14. Ensure appropriate Java version.
    • $sudo update-alternatives --config java (type 2)
    • Compile Dspace package
      1. $ mvn -U package
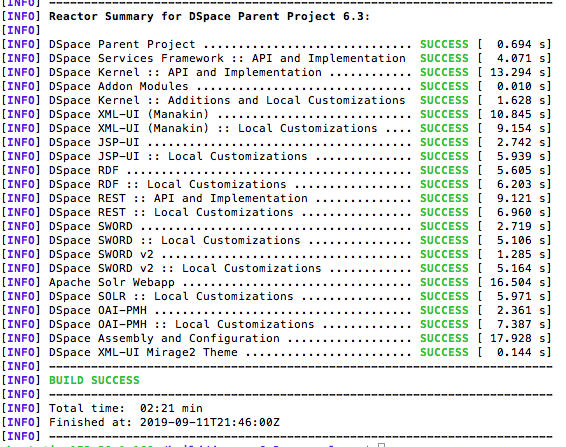
      2. Note: you shall see results like this
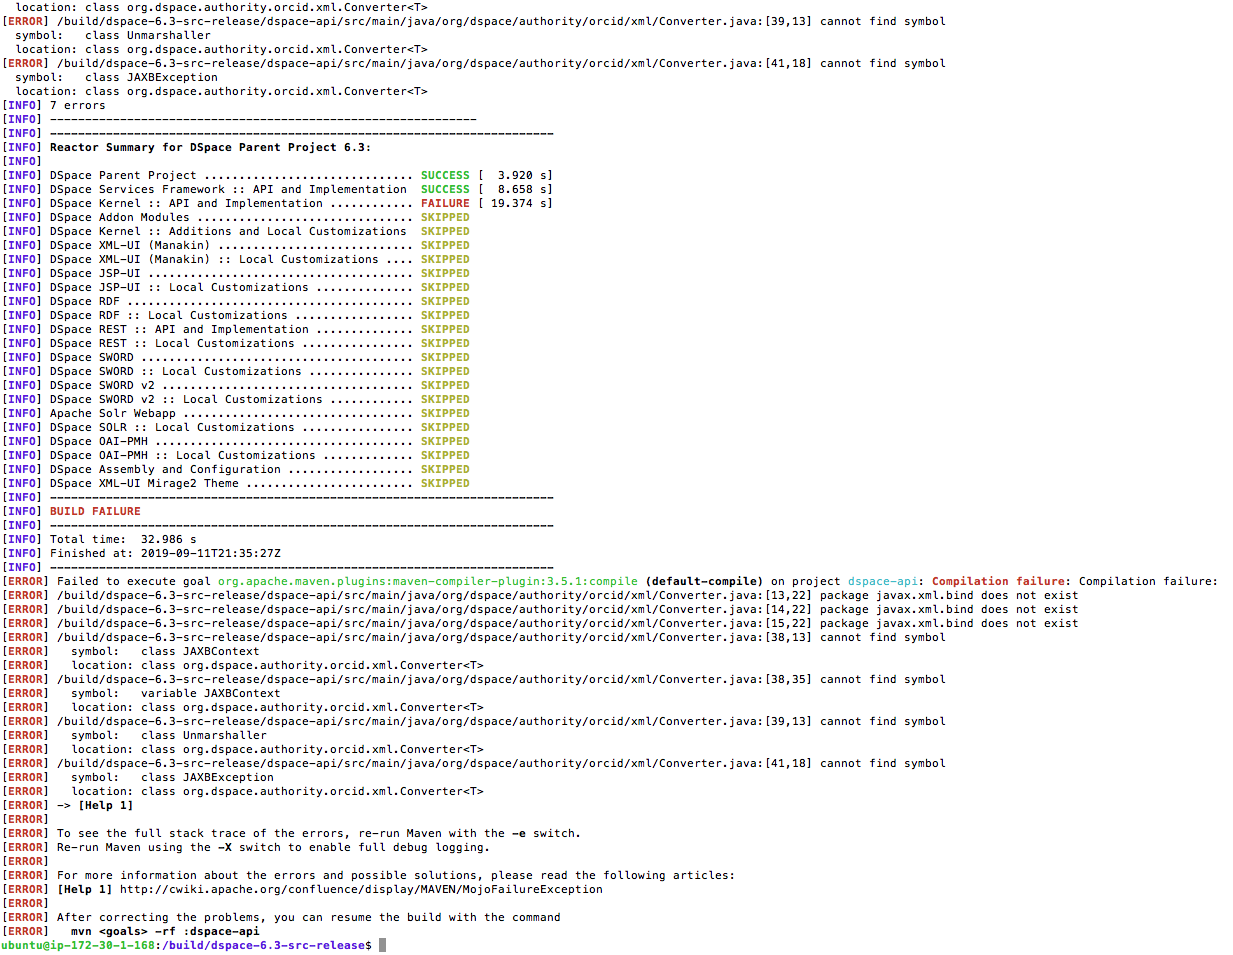
      3. If you see “BUILD FAILURE” like this, you need to update java version to use “openjdk-8”, Ubuntu 18.04 LTS carries java 11, which will fail the compile. Go to previous step to choose right java version and re-compile.
    • Install DSpace
      1. $ cd /build/dspace-6.3-src-release/dspace/target/dspace-installer
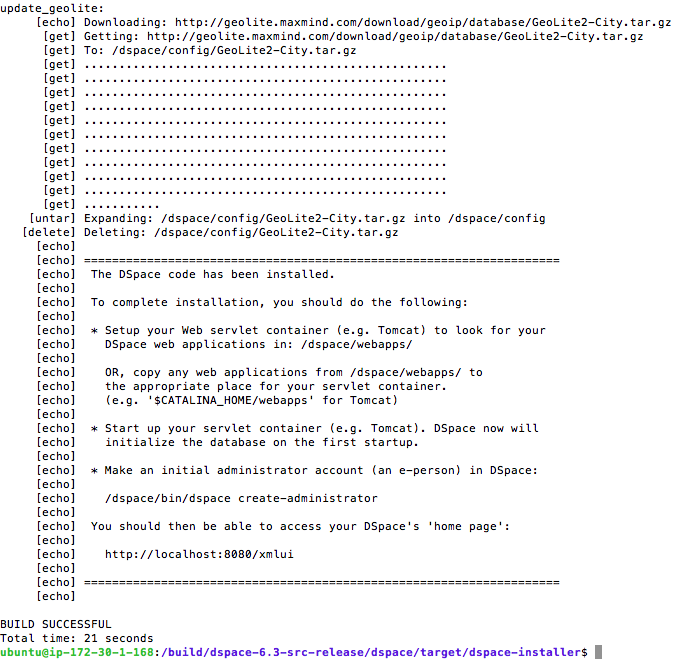
      2. $sudo ant fresh_install
    • Install Tomcat
      1. $sudo cd /opt; sudo wget https://archive.apache.org/dist/tomcat/tomcat-8/v8.0.37/bin/apache-tomcat-8.0.37.tar.gz
      2. $sudo tar xvzf apache-tomcat-8.0.37.tar.gz
      3. $sudo ln -s apache-tomcat-8.0.37 tomcat
    • Set Tomcat environment variables
      1. $sudo nano /etc/profile
      2. copy/paste to the last line”
        export JAVA_HOME=/usr/lib/jvm/java-8-openjdk-amd64
        export CATALINA_HOME=/opt/tomcat “
      3. save and close the file.
    • Copy DSpace webapps to Tomcat websapps (so that Tomcat will run DSpace webapps)
      1. $sudo cp -r /dspace/webapps/* /opt/tomcat/webapps
    • Run Tomcat
      1. $sudo /opt/tomcat/bin/startup.sh
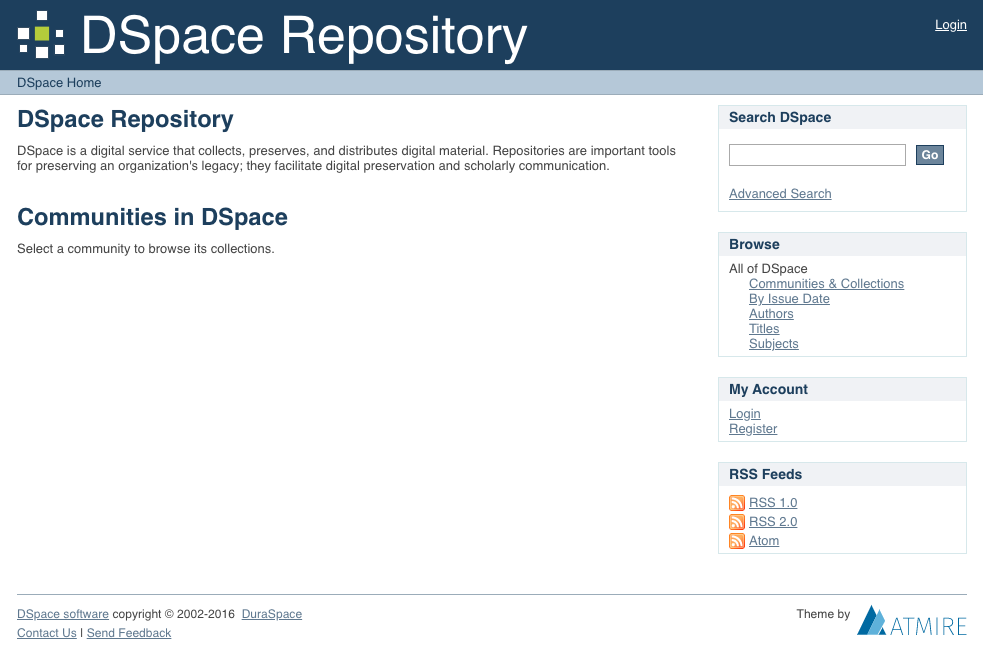
      2. Open an browser, enter “ip:8080/xmlui” for XMLUI interface, you shall see this. This is nice.
Using DSpace
  1. Interfaces:
    • JSP: residing in /jspui/. To access: enter [IP}:8080/jspui/. Example: http://www.afghandata.org:8080/jspui/
    • XMLUI: residing in /xmlui/. To access: enter [IP}:8080/xmlui/. Example: http://www.afghandata.org:8080/xmlui/
  2. Create adminstrative account:
    • $sudo /dspace/bin/dspace create-administrator

Wednesday, February 5, 2020

how to install Systemback Software in Ubuntu 18.04

Step 1:[sudo add-apt-repository --remove ppa:nemh/systemback]
step 2:[sudo add-apt-repository "deb http://ppa.launchpad.net/nemh/systemback/ubuntu xenial main"]
Step 3:[sudo apt-key adv --keyserver keyserver.ubuntu.com --recv-keys 382003C2C8B7B4AB813E915B14E4942973C62A1B]
Step 4:[sudo apt update]
step 5:[sudo apt install systemback]
 
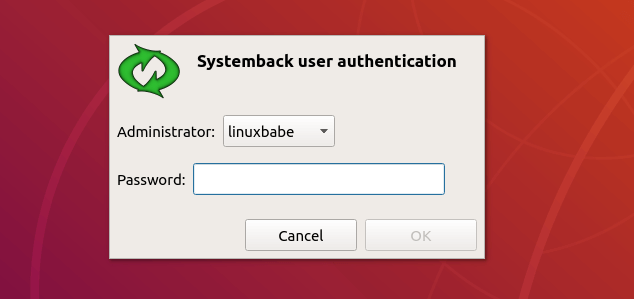
Then you can start Systemback from your application menu. You need to enter your password to use this software. After you enter the password, click OK button.
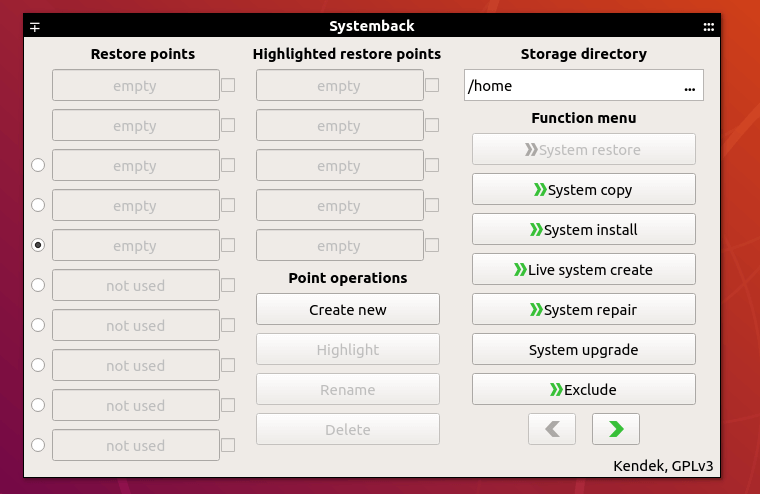
systemback for bionic
As you can see, you can create restore points of your system, restore to a point, copy the system to another partition, install the system to a new partition, create live system (bootable ISO image), repair the system and upgrade software on the system.
systemback create iso

How to Create a Bootable ISO Image From Your Current System

Systemback can create a customized ISO image file from your current system. Every program and file can be included in the ISO.
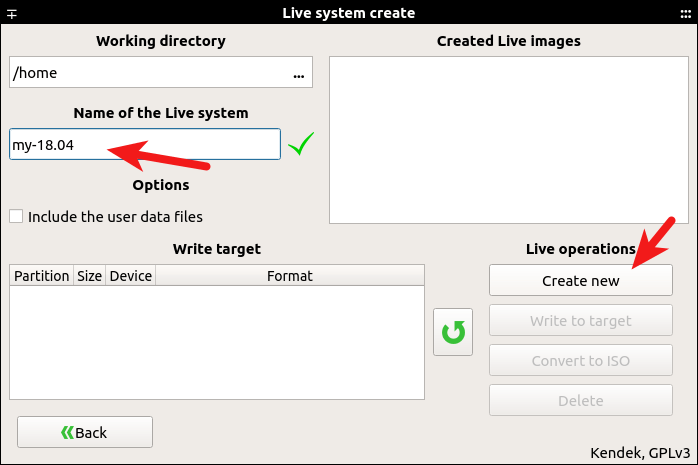
Click the Live System Create button, then give a name to your ISO file. You have the option to include the user data files. Click the Create New button to create live system.
systemback create live iso
After the live system is created, you can convert the sblive file to ISO file. Note that if the sblive file is too big, you can’t convert it to ISO file. The sblive and ISO file are stored under your home directory by default, but they are not visible.
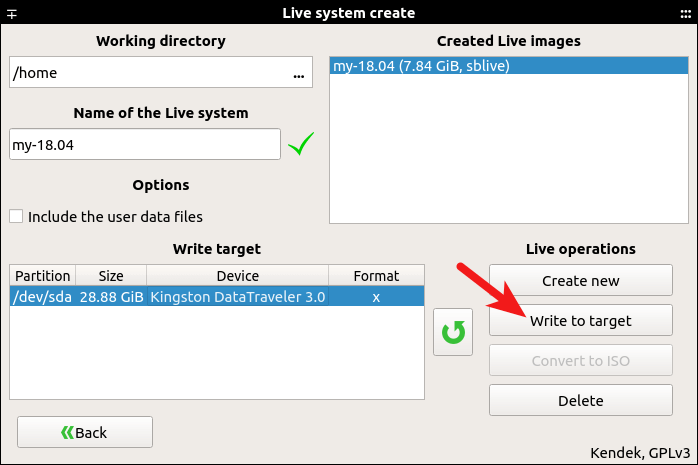
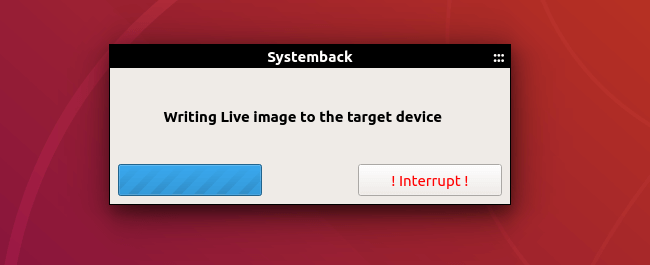
You can also insert your pen drive to your computer and write the sblive file to pen drive. (Click the reload button to detect USB drives.)
systemback bootable USB
Because my system has many programs and files, this process can take some time.
write live system to usb drive
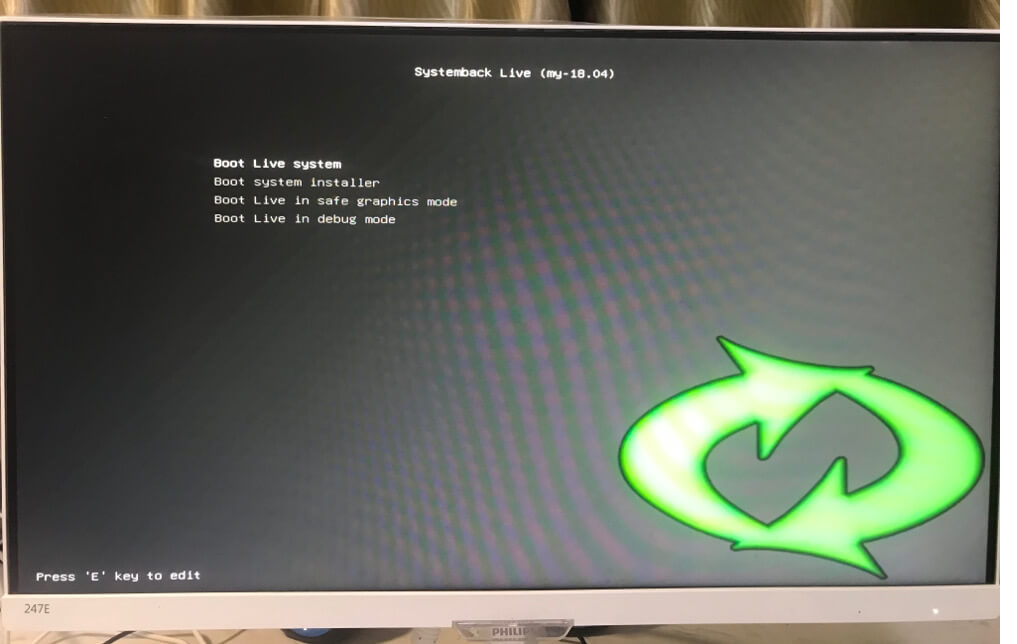
Once it’s done, you can use the bootable USB to install your customized Ubuntu system on other computers.
all systemback ubuntu 18.10


above commands are copied from below link

https://www.linuxbabe.com/ubuntu/install-systemback-ubuntu-18-04-bionic-18-10 

Thursday, January 23, 2020

Koha manual installation

Koha Manual Installation
> Step 1: Downloaded ubuntu 18.04 iso file from ubuntu official website.
> Step 2: Burn USB Bootable via Power ISO software or others..
>Step 3: Boot it and install ubuntu
>Step 4: after installation go to youtube and search 3. Installation of koha-18.05 on ubuntu18.04 LTS
> follow the instruction given in video and also below instructions
Installation of Koha on Ubuntu-18.04 LTS

Type these commands in terminal. To open terminal either you can press CTRL+ALT+T together or open through GUI.

Then enter

sudo su
(enter password, it will not be visible so be careful. Here you have to enter the same password which you have given at the time of installation).


Update Ubuntu

sudo apt-get update
sudo apt-get upgrade


Add Koha community repository


echo deb http://debian.koha-community.org/koha stable main | sudo tee /etc/apt/sources.list.d/koha.list

wget -O- http://debian.koha-community.org/koha/gpg.asc | sudo apt-key add -

Update the software repository

sudo apt-get update

Install Koha

sudo apt-get install koha-common

Server configuration

sudo nano /etc/koha/koha-sites.conf

Here I change the port number of Koha staff client to 8000. Find the following line in the file and make changes.

INTRAPORT="8000"

Install MySQL server

sudo apt-get install mysql-server

Koha instance creation

Apply following commands to create Apache configuration files.

sudo a2enmod rewrite
sudo a2enmod cgi
sudo service apache2 restart

Create a Koha instance with the name library.

sudo koha-create --create-db library

Add new port

Open the following file and add a new port.

sudo nano /etc/apache2/ports.conf

Copy paste following line below Listen 80

Listen 8000

Restart Apache,

sudo service apache2 restart

Enable modules and sites

sudo a2dissite 000-default
sudo a2enmod deflate
sudo a2ensite library
sudo service apache2 restart

Generate Koha Interface Login Password.

sudo xmlstarlet sel -t -v 'yazgfs/config/pass' /etc/koha/sites/library/koha-conf.xml

It will generate the password at terminal. Just copy or even password you can locate at  /etc/koha/sites/library/koha-conf.xml

Restart Memcached

sudo service memcached restart


Now, Koha has been installed successfully.

Open the browser and type the following:

For Koha Staff Interface: http://localhost:8000
For Koha OPAC : http://localhost


Thanks
For more details, watch video at www.youtube.com/c/librarianguide

KIM Library OPAC