
How to install dspace on ubuntu
(important: before the installation of dspace we must install git software by using below command)
$ apt-get install git
- Log in:
- $ ssh -i keypair2.pem ubuntu@3.80.31.85
- Update Ubuntu patches to latest packages:
- $sudo apt update
- $sudo apt upgrade (note: when upgrading, choose “install the package maintainer’s version” typically works well)
- Install required system applications: (openjdk-8, postgresql, ant, and maven)
- $sudo apt install openjdk-8-jdk postgresql ant maven
- Create Ubuntu user “dspace” with directory “/dspace” and let user “dspace” owning directory “/dspace”
- $sudo useradd -m dspace
- $sudo passwd dspace
- $sudo mkdir /dspace
- $sudo chown dspace /dspace
- Become user “postgres” so that it can create postgreSQL database user
- $sudo su postgres
- Create a new PostgreSQL user
- $createuser -U postgres -d -A -P dspace
- Enter password for new role:
- Enter it again:
- $exit
- Ubuntu user “dspace” to create database “dspace”
- $sudo -u dspace createdb -U dspace -E UNICODE dspace
- Be ubuntu user “postgres” and enable postgreSQL extension “pgcrypto” for hash function. (a regular Postgres extension. Install it once per database)
- $sudo su postgres
- $psql –username=postgres dspace -c “CREATE EXTENSION pgcrypto;”
- Exit to be user “ubuntu” again.
- $exit
- Allow database user “dspace” to connect to PostgreSQL
- $sudo nano /etc/postgresql/10/main/pg_hba.conf
- go to the last line, add “local all dspace md5“
- save and close the file
- Restart postgreSQL (to make the change effecitve)
- $sudo /etc/init.d/postgresql restart
- Create “/build” directory for compiling and installation
- $sudo mkdir /build; sudo chmod -R 777 /build; cd /build
- Download Dspace to “/build” directory and extract DSpace tar file
- $wget https://github.com/DSpace/DSpace/releases/download/dspace-6.3/dspace-6.3-src-release.tar.gz
- $ tar -zxf dspace-6.3-src-release.tar.gz
- $ cd /build/dspace-6.3-src-release
- Ensure appropriate Java version.
- $sudo update-alternatives --config java (type 2)
- Compile Dspace package
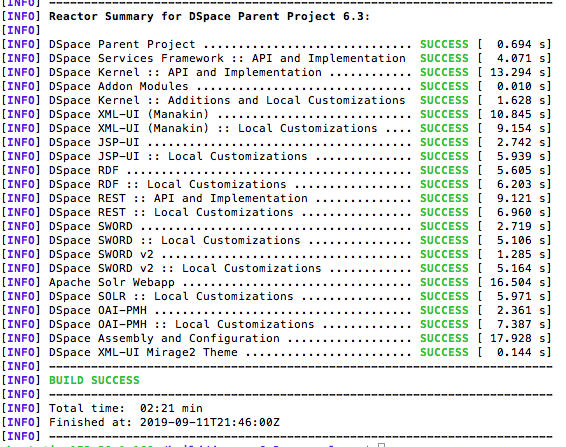
- $ mvn -U package
- Note: you shall see results like this
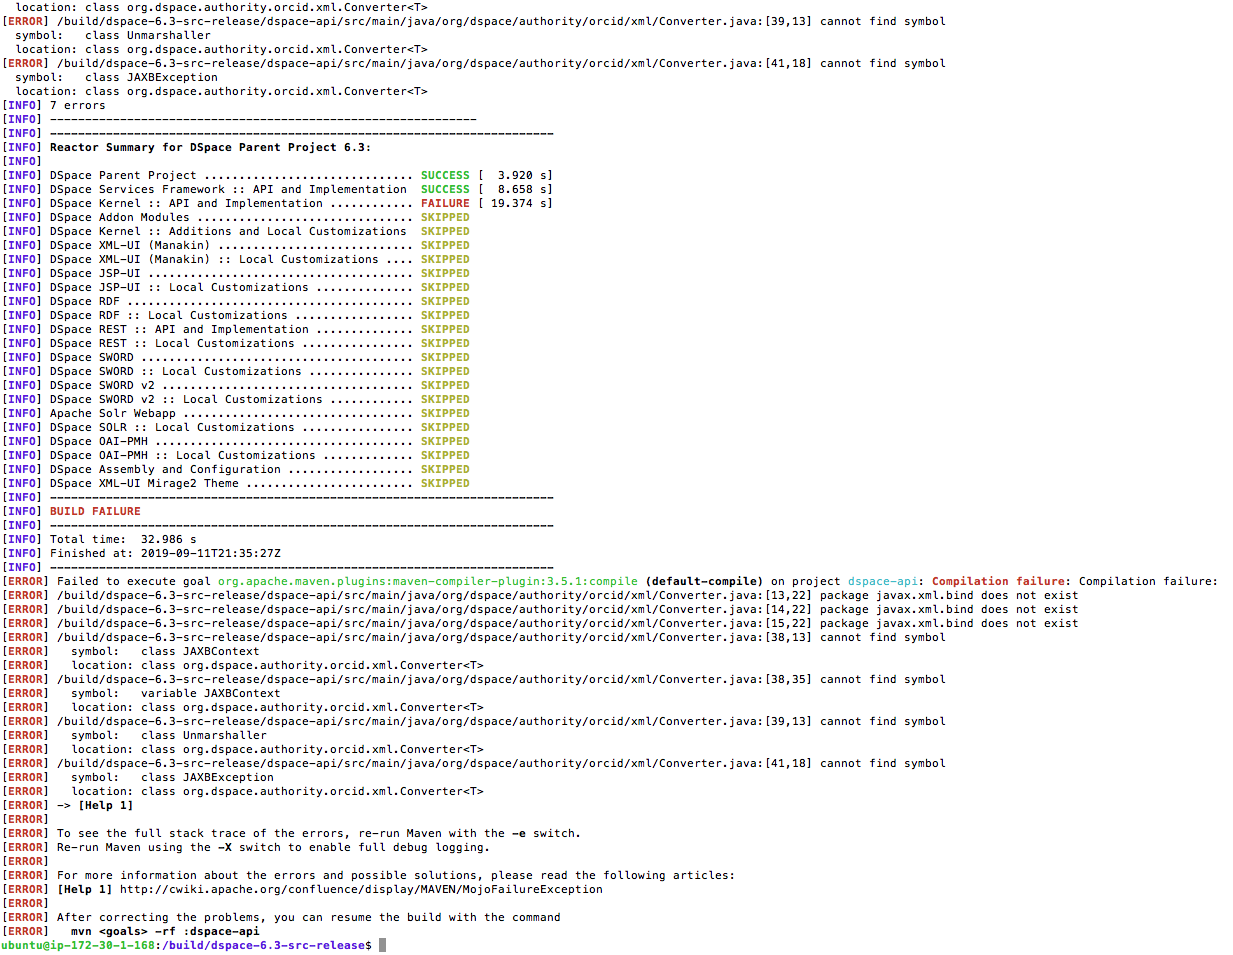
- If you see “BUILD FAILURE” like this, you need to update java version to use “openjdk-8”, Ubuntu 18.04 LTS carries java 11, which will fail the compile. Go to previous step to choose right java version and re-compile.
- Install DSpace
- $ cd /build/dspace-6.3-src-release/dspace/target/dspace-installer
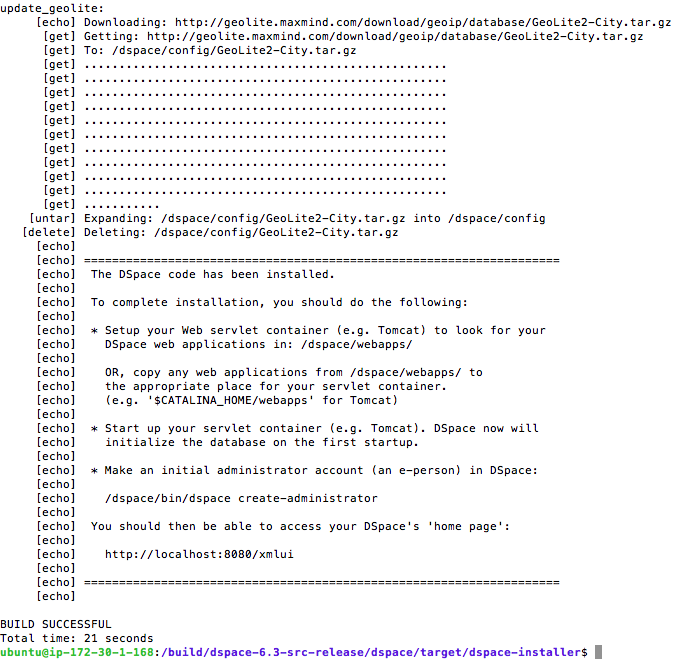
- $sudo ant fresh_install
- Install Tomcat
- $sudo cd /opt; sudo wget https://archive.apache.org/dist/tomcat/tomcat-8/v8.0.37/bin/apache-tomcat-8.0.37.tar.gz
- $sudo tar xvzf apache-tomcat-8.0.37.tar.gz
- $sudo ln -s apache-tomcat-8.0.37 tomcat
- Set Tomcat environment variables
- $sudo nano /etc/profile
- copy/paste to the last line”
export JAVA_HOME=/usr/lib/jvm/java-8-openjdk-amd64
export CATALINA_HOME=/opt/tomcat “ - save and close the file.
- Copy DSpace webapps to Tomcat websapps (so that Tomcat will run DSpace webapps)
- $sudo cp -r /dspace/webapps/* /opt/tomcat/webapps
- Run Tomcat
- $sudo /opt/tomcat/bin/startup.sh
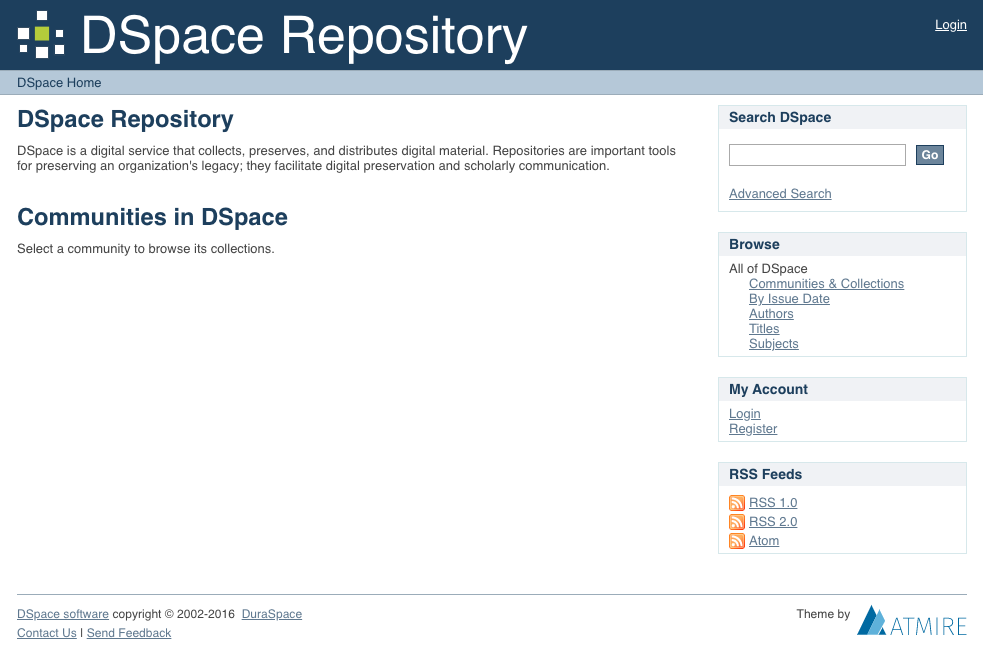
- Open an browser, enter “ip:8080/xmlui” for XMLUI interface, you shall see this. This is nice.

Using DSpace
- Interfaces:
- JSP: residing in /jspui/. To access: enter [IP}:8080/jspui/. Example: http://www.afghandata.org:8080/jspui/
- XMLUI: residing in /xmlui/. To access: enter [IP}:8080/xmlui/. Example: http://www.afghandata.org:8080/xmlui/
- Create adminstrative account:
- $sudo /dspace/bin/dspace create-administrator
.png)
No comments:
Post a Comment